
To successfully set up Kick Stream, you’ll need to follow a series of steps that will ensure a smooth streaming experience.
- Logging into your Kick.com account and accessing your creator dashboard is the first step. Once you’re there, head over to the Settings menu and select Stream Key.
- It’s crucial to take note of the Stream Key and Server URL provided, as they’ll be integral in the next phase.
- Hang tight because the next step involves using OBS (Open Broadcaster Software) to configure your settings.
- By making a few changes in OBS, you’ll be ready to go live and share your content with the world.
So, let’s dive into the details and get your Kick Stream up and running smoothly.
Key Takeaways
- Logging into Kick.com and accessing the creator dashboard are the first steps in setting up Kick Stream.
- Configuring the stream key and server URL is essential for establishing a successful streaming connection.
- Choosing the appropriate video resolution and audio input is crucial for ensuring high-quality streaming.
- Optimizing the stream output by having a stable internet connection and reducing background processes can greatly improve the streaming experience.
Kick Stream Overview
To set up Kick Stream, follow these detailed steps:
- Configure your stream key and server URL.
- Add the stream key to OBS.
- Adjust output settings.
- Ensure high-quality video streaming.
Kick Stream Overview provides you with all the necessary information to get started with Kick streaming. This comprehensive guide covers everything from setting up your stream key and server URL to troubleshooting tips for a smooth streaming experience. It also highlights the supported encoders and emphasizes the importance of using Constant Bitrate (CBR) for optimal results.
Kick Stream Overview introduces you to the features of Kick streaming, including:
- Live chat engagement.
- High-quality video streaming.
- Scheduling and promotion capabilities.
- Analytics and insights for stream performance.
Additionally, the guide offers a comparison between Kick and Twitch, showcasing Kick’s favorable monetization policy and wider opportunities for creators.
Whether you’re new to streaming or an experienced content creator, Kick Stream Overview is your go-to resource for setting up and maximizing your streaming experience on the Kick platform.
Choosing the Right Equipment
When it comes to choosing the right equipment for your Kick stream, there are a few key factors to consider.
First, make sure to select an encoder that Kick supports, such as NVIDIA NVENC H.264 or AMD HW H.264.
Additionally, take into account the maximum upload speed of your internet connection when setting the bitrate for your output.
Equipment Selection Tips
Consider your internet speed and choose the appropriate bitrate to avoid any streaming issues when selecting equipment for Kick streaming.
To ensure optimal performance, select supported encoders like NVIDIA NVENC H.264 or AMD HW H.264. Additionally, make sure your equipment supports a maximum resolution of 1920×1080 and a maximum bitrate of 8,000kbps for Kick streaming. This will help maintain high-quality video and prevent buffering or lagging during your live stream.
When setting up your stream, don’t forget to select the appropriate category and title your stream accurately for better visibility. Engage with your audience through live chat and take advantage of Kick’s social features to connect with viewers and other creators.
Following these equipment selection tips will help you create a smooth and enjoyable live-streaming experience.
Essential Gear Checklist
Ensure your Kick stream is equipped with the essential gear necessary for a professional and high-quality live streaming experience. When choosing your equipment, consider your stream’s focus and your budget.
Invest in a high-quality microphone to ensure clear and professional audio for your stream.
For visuals, select a camera that provides at least 1080p resolution. Consider using a camcorder or DSLR for higher-quality visuals.
Lighting is crucial for a professional look, so invest in soft, diffused lighting to minimize shadows and create a flattering appearance.
If you plan to stream from a console or need to capture high-quality gameplay footage, research and invest in a reliable capture card.
Remember to have your stream URL ready, as Kick allows streamers to share their stream with their audience easily.
Creating Your Kick Stream Account
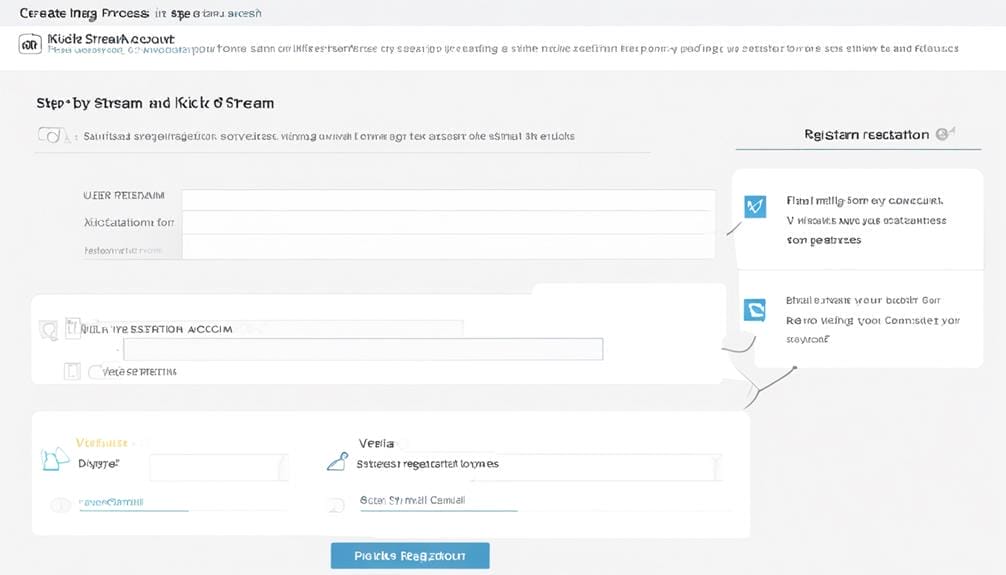
To create your Kick Stream account, you’ll need to go through a simple registration process. During registration, you’ll be required to provide some personal information, such as your name, email address, and password.
Once you have submitted your information, you’ll need to verify your account through a series of steps to ensure its security and authenticity.
Account Registration Process
To create your Kick Stream account, visit kick.com and click on the ‘Sign Up’ button. Fill in the required details, such as username, email, and password. Once you’ve submitted the form, a confirmation link will be sent to your email. Click on the link to verify your email address. After verifying your email, complete your profile information by adding a profile picture and writing a bio. This will help personalize your account and make it more attractive to potential viewers. Once your profile is set up, you can access your Creator Dashboard. In the dashboard, you can set up your stream key and customize your channel details. Now you’re ready to start streaming on Kick Stream!
| Step | Action | Purpose |
|---|---|---|
| 1 | Visit kick.com | To access the Kick Stream website |
| 2 | Click on the ‘Sign Up’ button | To begin the account registration process |
| 3 | Fill in the required details | To provide necessary information for account creation |
| 4 | Verify email address | To ensure account security and authenticity |
| 5 | Complete profile information | To personalize your account and attract viewers |
| 6 | Access Creator Dashboard | To customize stream settings |
| 7 | Set upstream key and channel details | To prepare for streaming on KickStream |
Required Personal Information
After successfully verifying your email address, the next step in setting up your Kick Stream account is providing the required personal information. This information includes the title, category, language, and age restriction for your stream.
To find and copy your Stream URL, which will be used to connect Restream to your Kick channel, access the Settings tab and click Stream Key.
It’s important to note that Kick’s revenue model offers a 95-5 split, allowing creators to keep 95% of their earnings. Additionally, Kick supports various monetization methods such as subscriptions, contributions, advertisements, and sponsorships.
To ensure high-quality streaming, Kick has specific requirements, such as a maximum resolution of 1920×1080 and a maximum bitrate of 8,000kbps.
For those using Restream Studio, you can stream on multiple platforms simultaneously, including Kick, Facebook, YouTube, and Twitch. Restream Studio also offers features like customizing streams with logos and graphics and having up to nine guests join remotely.
Account Verification Steps
To begin creating your Kick Stream account, visit the Kick.com website and click on the ‘Create Account’ option.
Enter your email address, create a password, and agree to the terms and conditions.
After that, check your email for a verification link from Kick. Click on the link to verify your account.
Once your account is verified, you can proceed to complete your profile information. This includes entering your desired username, writing a bio, and uploading a profile picture.
Keep in mind that depending on your specific circumstances, you may be required to provide additional identification or go through further verification steps to activate your Kick Stream account fully.
These steps are in place to ensure the security and integrity of the platform.
Obtaining Your Stream Key
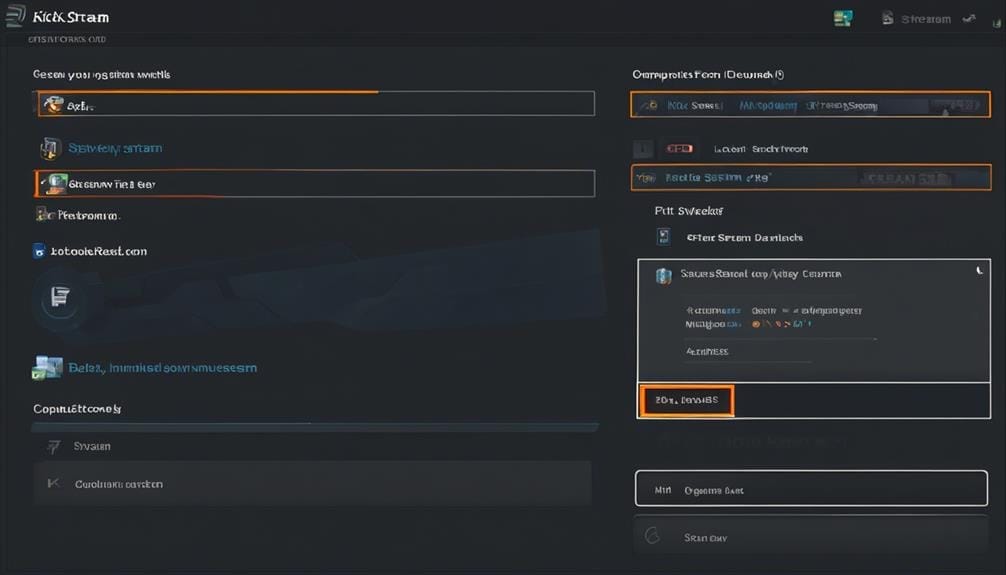
Once logged into your Kick.com account and on your creator dashboard, navigate to the Settings menu and select Stream Key to obtain your unique streaming credentials. Here’s how you can obtain your stream key:
- Log into your Kick.com account and go to your creator dashboard.
- Click on the Settings menu item.
- Select Stream Key.
- Take note of the Stream Key and Server URL provided.
- These will be used in the next step.
Obtaining your stream key is an essential step in setting up your Kick Stream. The stream key is a unique identifier that allows you to connect your streaming software or hardware to the Kick platform. It authenticates your stream and ensures that only authorized content is broadcast.
When you select the Stream Key option in the Settings menu, you’ll be provided with a Stream Key and Server URL. These credentials are specific to your account and should be kept confidential. Make sure to copy and securely store them, as you’ll need them in the next step of the setup process.
With your stream key in hand, you’re now ready to move on to the next stage of configuring your streaming software or hardware.
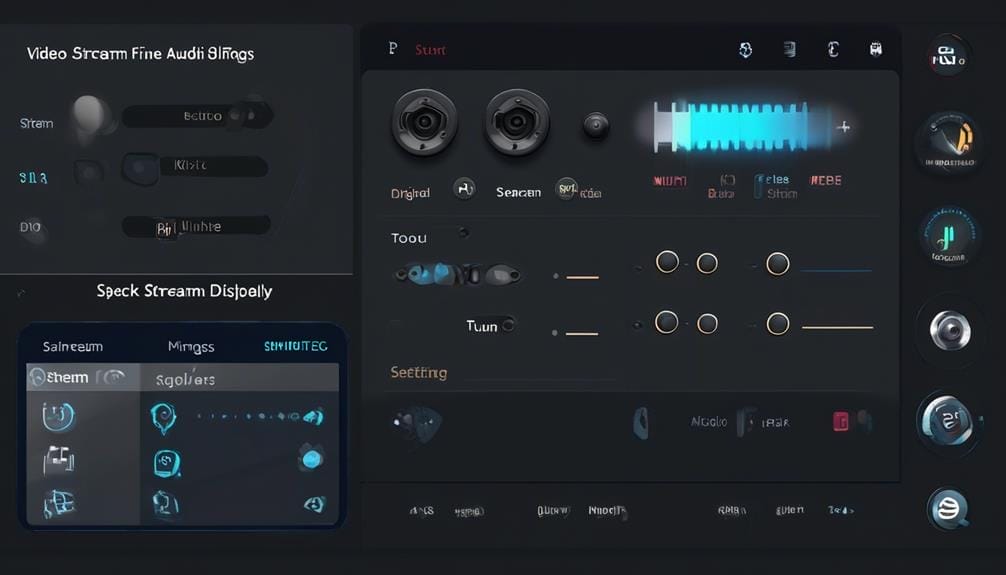
Setting Up OBS for Kick Stream
To set up OBS for your Kick Stream, you’ll need to configure the Stream Key and Server URL obtained from your Kick.com account. Once you have obtained these, follow the steps below to complete the OBS setup:
- Open OBS and go to File > Settings > Stream.
- Change the service to Custom and paste the Server URL and Stream Key from your Kick Settings Page.
- Apply to save the changes.
In addition to setting up the Stream Key and Server URL, there are a few other important settings to consider in OBS. Ensure that your maximum upload speed is checked, and adjust your bitrate settings accordingly to avoid exceeding it. To access these settings, go to Output in OBS Settings. Here, you can set the bitrate and CPU Usage Preset based on your needs.
It is important to note that Kick supports NVIDIA NVENC H.264 and AMD HW H.264 encoders. Make sure to choose the appropriate encoder for your live stream. Additionally, don’t forget to set the stream title and category for the correct livestream start.
Once you have completed the OBS setup, you can start your livestream by pressing the Start Streaming button in OBS. To end your livestream, click the Stop Streaming button in OBS.
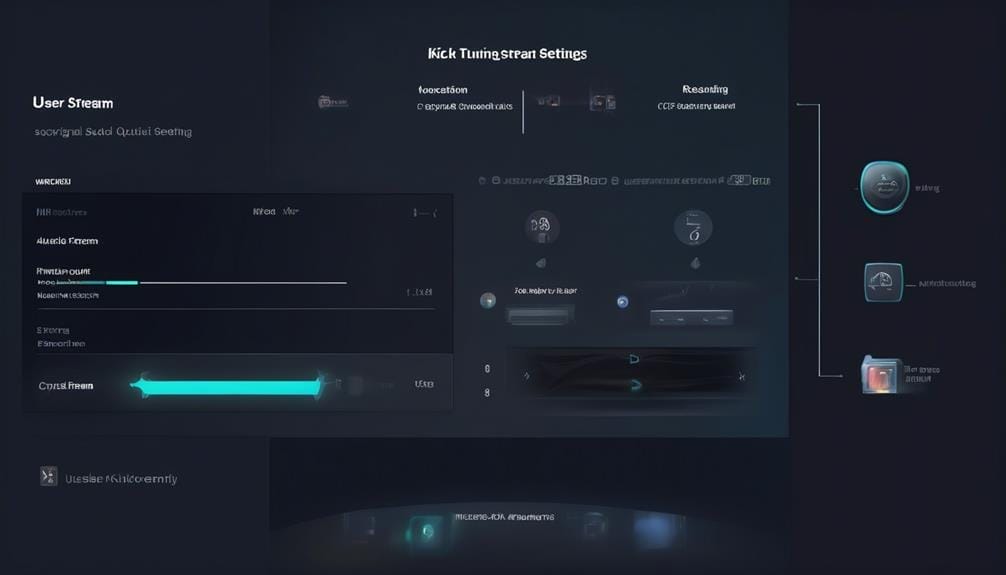
Configuring Video and Audio Settings
Now it’s time to configure the video and audio settings for your Kick stream.
You’ll have options for video resolution, allowing you to choose the quality that best suits your needs.
Additionally, you’ll need to select the appropriate audio input for your stream.
Video Resolution Options
Configuring video and audio settings for your live stream requires careful consideration of the available video resolution options. When setting up your live stream using Kick Stream, you have several video resolution options to choose from:
- Higher resolutions such as 1920×1080 (1080p) provide clearer visuals but require more internet bandwidth.
- Lower resolutions like 1280×720 (720p) and 854×480 (480p) offer smoother streaming with less bandwidth utilization.
Selecting the appropriate video resolution is crucial for balancing image quality and internet bandwidth. By understanding and choosing the right video resolution option, you can optimize the viewing experience for your audience.
Keep in mind that the resolution you choose should be supported by your streaming software and align with your internet connection capabilities. So, make sure to select the video resolution that best suits your needs and enhances the overall livestream experience on Kick Stream.
Audio Input Selection
When configuring video and audio settings in Kick Stream, accessing the audio settings in OBS is the first step to selecting your audio input. In OBS, you can choose the correct audio device for capturing sound from your microphone or other sources. It’s crucial to ensure that the audio levels are set appropriately to avoid distortion or low volume.
After selecting the audio input, it’s essential to test it to confirm that the sound is being captured and transmitted correctly. Additionally, you can adjust any additional audio settings, such as noise suppression or audio filters, to enhance the quality of the audio input.
Quality and Bitrate
To ensure optimal streaming quality, adjust the video and audio settings in Kick Stream while considering factors such as bitrate, encoder selection, and quality settings.
- Set the bitrate in OBS to not exceed your internet connection’s maximum upload speed.
- Consider setting the bitrate to a maximum of 8,000kbps based on your internet connection.
- Ensure that you use constant bitrate (CBR), as Kick doesn’t support variable bitrate (VBR).
- Select the appropriate encoder, such as NVIDIA NVENC H.264 or AMD HW H.264, for streaming on Kick.
- Quality settings like resolution and framerate should be set within the supported limits of Kick (max 1920×1080 resolution and 60fps).
Optimizing Stream Output
You can enhance the quality of your stream output by implementing optimization techniques. To kick your stream output up a notch, consider these tips.
First, make sure you have a stable and reliable internet connection. A strong connection is crucial for delivering a smooth and uninterrupted stream.
Next, optimize your audio and video settings. Use the right codecs and bitrates to balance quality and bandwidth usage. Experiment with different settings to find the optimal configuration for your stream.
Additionally, reduce any unnecessary background processes on your streaming device to allocate more resources to your stream output. This will help prevent lag and buffering issues.
Lastly, consider using a content delivery network (CDN) to distribute your stream to viewers around the world. A CDN can help improve the delivery speed and reduce latency.
Testing Your Stream Connection
To ensure a smooth and uninterrupted stream, it’s essential to test the stability and reliability of your internet connection. Here are some steps you can take to ensure your connection is up to par:
- Check your internet speed: Use an online speed test tool to measure your internet speed. Kick recommends a minimum upload speed of 5 Mbps for streaming in HD quality.
- Perform a ping test: A ping test measures the latency or delay between your computer and a target server. A high ping can cause buffering and interruptions in your stream. To perform a ping test, open the command prompt on your computer, type ‘ping www.google.com’ (without quotes), and press Enter. The results will show the average ping time.
- Check for network congestion: Network congestion can affect your stream’s performance. Try streaming during different times of the day to see if there are any noticeable differences in stream quality.
Going Live on Kickstream

To begin live streaming on Kick Stream, follow these steps:
- Access your Kick.com creator dashboard.
- Locate the Stream Key and Server URL for your live stream setup.
- Use OBS (Open Broadcaster Software) to start streaming on Kick.
To set up OBS for live streaming:
- Add the Stream Key and Server URL from your Kick Settings page into OBS.
- Make sure your output settings match your internet upload speed.
- Set your bitrate to a maximum of 8,000kbps.
- Use supported encoders like NVIDIA NVENC H.264 or AMD HW H.264 for optimal performance.
Before starting your live stream:
- Set the stream title and category on the Kick platform.
- This will help viewers find your stream easily and know what to expect.
To go live:
- Press the Start Streaming button in OBS.
- This will initiate the streaming process.
- Your live stream will be broadcast to your audience on Kick.
To end your live stream:
- Click the Stop Streaming button in OBS.
Now that you know how to go live on Kick Stream, you can engage with your audience in real time and share your content with the world. Happy streaming!
Troubleshooting and Tips
If your Kick stream is experiencing stuttering, adjusting the bitrate and using a less demanding preset can improve stream quality. Here are some troubleshooting tips to help optimize your Kick streaming experience:
- Adjust the bitrate: Lowering the bitrate can reduce the amount of data being transmitted, which can help alleviate stuttering issues. Experiment with different bitrate settings to find the optimal balance between stream quality and stability.
- Use a less demanding preset: Changing the preset to a lower quality option can also improve stream performance. While this may result in a slight decrease in video quality, it can help reduce the strain on your system and improve overall stream stability.
Additionally, here are some general tips to keep in mind:
- Utilize Constant Bitrate (CBR): Kick doesn’t support Variable Bitrate (VBR), so it’s recommended to use CBR for the best results.
- Comply with Kick’s limits: Ensure that your stream settings, including resolution and bitrate, fall within Kick’s limits. The maximum resolution supported is 1920×1080, and the maximum bitrate supported is 8,000kbps.
Frequently Asked Questions
How Do I Start a Stream on Kick?
To start a stream on Kick, follow these steps: 1) Download the Kick app. 2) Sign in or create an account. 3) Tap the “Start Stream” button. Engage with viewers by responding to comments and asking questions.
What Streaming Software to Use for Kick?
It would be best if you used OBS as the recommended streaming software for Kick. It’s compatible and customizable. To set up your stream key and server URL, access your Kick account and go to the creator dashboard.
How Do I Get Better Stream Quality on Kick?
To improve your stream quality on Kick, optimize your video settings by adjusting the bitrate and encoder. Additionally, ensure you have a stable internet connection and consider using a supported encoder for better audio quality.
How Do You Get Paid for Streaming on Kick?
To get paid for streaming on Kick, you can monetize your stream through various methods like subscriptions, advertisements, and sponsorships. Engage with your audience, promote on social media, and create special content to increase earnings.
Conclusion
In conclusion, setting up Kick Stream is a straightforward process that requires obtaining your Stream Key from your Kick.com account and configuring OBS.
Remember, just as a skilled conductor brings harmony to an orchestra, your Stream Key and OBS work together seamlessly to ensure a smooth and captivating streaming experience for your audience.
So, get ready to take the stage and captivate your viewers with your Kick Stream!